Assessing and repairing roof damage is essential to maintaining the safety and integrity of both residential homes and commercial properties. This process can’t be taken lightly; it involves a careful examination of both inside and outside elements, looking for signs like water stains, mold, mildew, or actual leaks that could indicate serious issues overhead.
Get ready—we’re about to share everything we know about keeping roofs over our heads secure!
Key Takeaways
- Begin roof damage assessment by inspecting both the interior and exterior of your home, looking for water stains, mold, and damaged shingles.
- Remove any debris or obstacles from around the work area to prevent accidents during repairs.
- Replace damaged roofing materials with high – quality options and seal properly to ensure longevity.
- Tackle moss and lichen promptly to avoid deterioration of your roof’s health.
- Regular inspections are key; they help detect potential problems early on before they escalate into more costly issues.
Steps for Assessing Roof Damage

When it comes to assessing roof damage, it’s crucial to start by conducting both interior and exterior inspections. This will help identify any signs of water leaks, missing shingles, or damaged flashing that could compromise the roof’s structural integrity.
Conducting an Interior Inspection
We’ll guide you through conducting an interior inspection to catch signs of roof damage early. Spotting these issues promptly can prevent more serious problems down the road.
- Begin your inspection in the attic, where hidden problems often reveal themselves. Look for water stains or mold that indicate a breach in your roof’s defenses against the elements.
- Check the insulation in your attic to ensure it’s dry and intact. Wet or compressed insulation loses its ability to resist heat loss and can signal that water is seeping in.
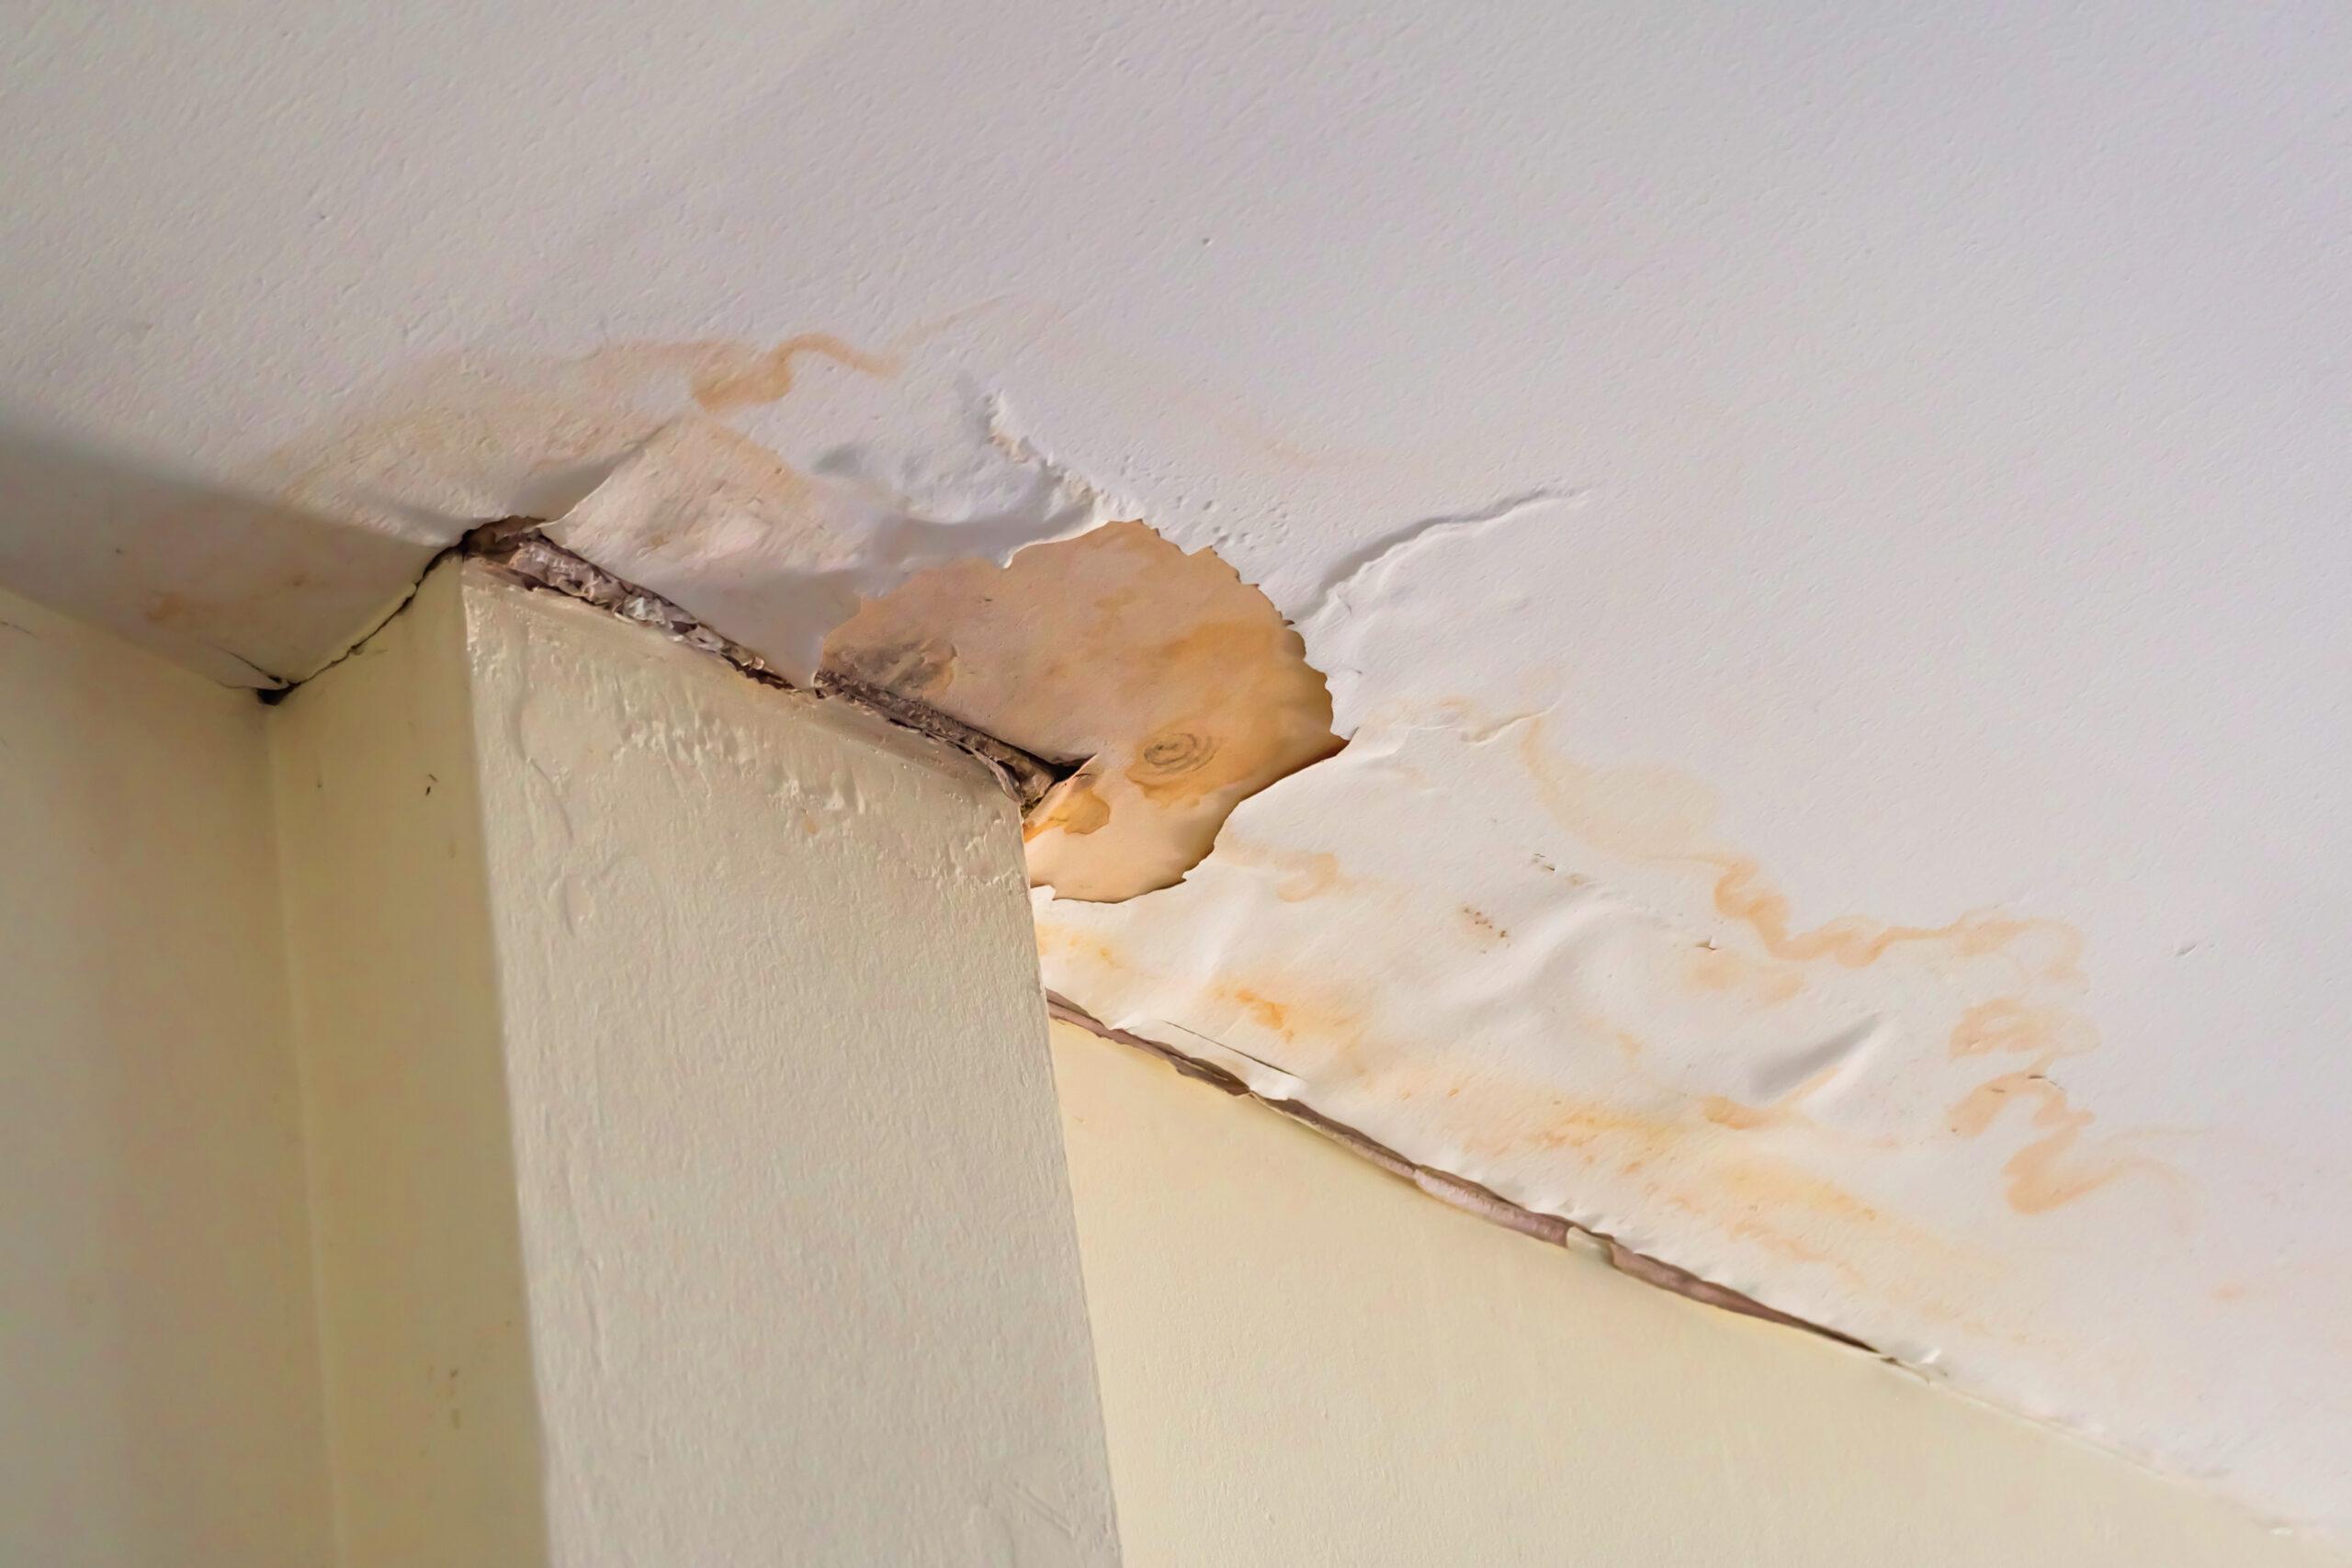
- Examine the interior ceilings throughout your home, paying close attention to corners and edges. Discoloration or peeling paint may suggest a leak originating from above.
- Inspect all walls, especially those adjacent to chimneys and vents, for any signs of mold growth or moisture. These are common areas where water leaks occur due to compromised flashing or sealant.
- Notice if there are any sagging sections of the ceiling; this could imply a larger issue with structural integrity needing immediate attention.
- Keep an eye out for drafts near the ceiling on windy days as they could point towards missing shingles or damaged roofing material on your exterior.
- Use daylight as a tool; If you see rays of light coming through holes or cracks, it typically means there’s serious damage that needs repair.
- Take detailed notes and photos of any findings during your inspection—this documentation is crucial for insurance claims and discussing repairs with a roofing contractor.
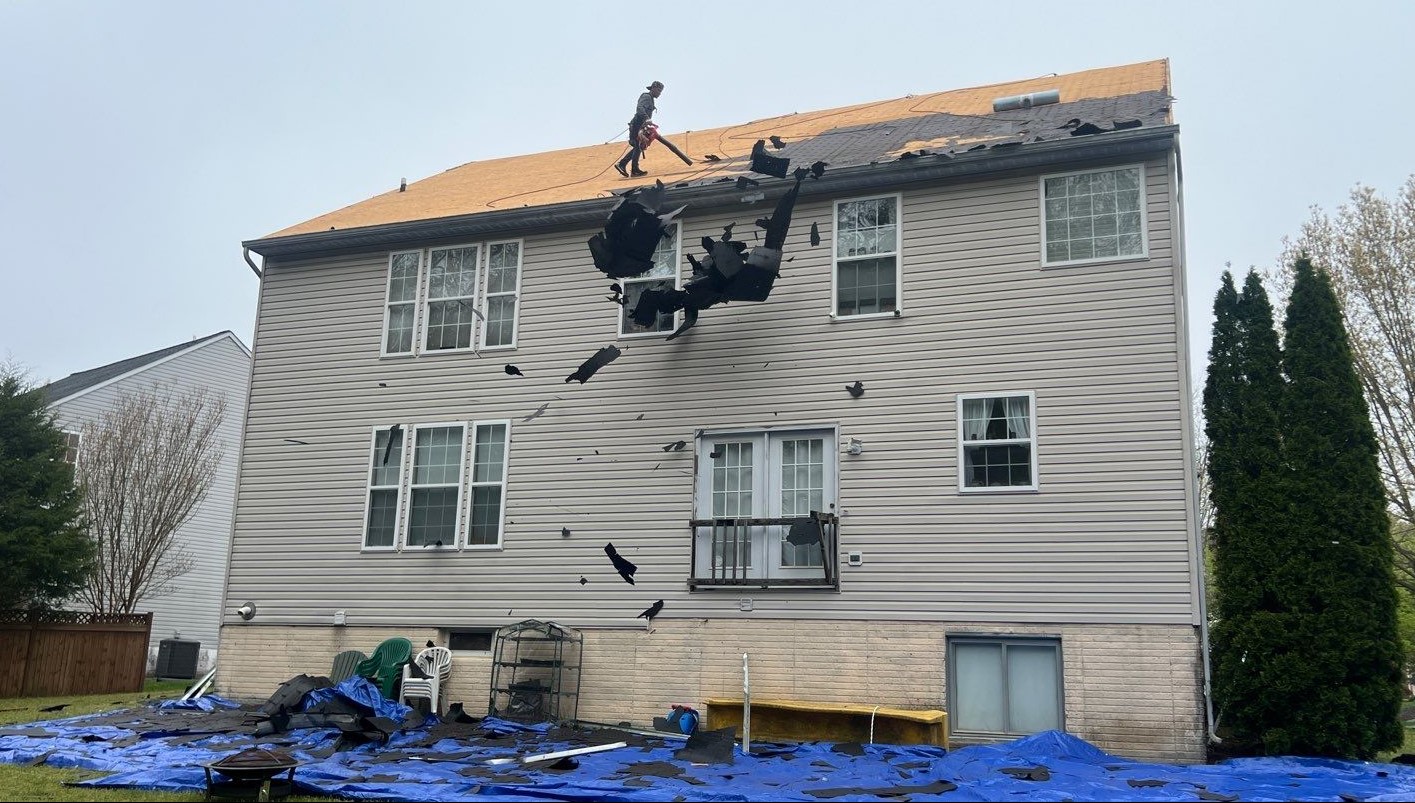
Performing an Exterior Inspection
Having completed the interior inspection, let’s now shift our focus to the crucial step of performing an exterior inspection of your roof. This will provide a clear picture of any issues that might not have been visible from inside.
- Begin with a general overview from the ground. Look for obvious signs of damage such as broken or missing shingles and noticeable sagging which may indicate a compromised structure.
- Use a sturdy ladder to get a closer view. Position it securely and always practice safety first to prevent falls or injuries.
- Examine the shingles closely. Check for cracks, curling, or blistering asphalt shingles which can be early warnings of more significant problems.
- Investigate the flashing around chimneys, vents, and skylights. Repair flashing if you notice any gaps, rust, or damage that could lead to water leakage.
- Search for loose or exposed roofing nails which can also allow water into your home and may need tightening or replacement.
- Inspect for moss, lichen, and piles of dirt which hold moisture against the roof; these should be gently removed to avoid further damage.
- Assess gutters and downspouts; ensure they’re securely attached and clear of debris to prevent water from backing up under roofing materials.
- Survey areas where different roof planes come together. These valleys are common places for leaks if not properly sealed with roofing cement or caulking.
- Keep an eye out for hail damage—look for dents on vents or softened spots on shingle roofs after severe weather events.
- Finally, check attic insulation from the outside by noting any uneven snow melt patterns on the roof during winter, as this could point toward heat loss issues.
Essential Roof Repair Techniques
Clearing the work area is crucial for safety and efficiency, followed by carefully removing damaged materials. Once the damaged materials are removed, replacement and sealing are the final steps to ensure your roof is restored to its optimal condition.
Clearing the Work Area
First, we ensure the space around the damaged roof is completely clear. We remove any debris, garden equipment, or outdoor furniture that could get in the way of our safety and efficiency.
It’s all about providing us with an unobstructed path to do our work without tripping hazards or visual obstructions.
Next, we carefully move items like cars from under carports or plants beneath eaves to prevent accidental damage during repairs. This careful preparation allows us to focus entirely on fixing your roof without worrying about causing harm elsewhere.
Our meticulous approach makes certain that every shingle replaced or section sealed is done so with precision and care for both your property and our safety.
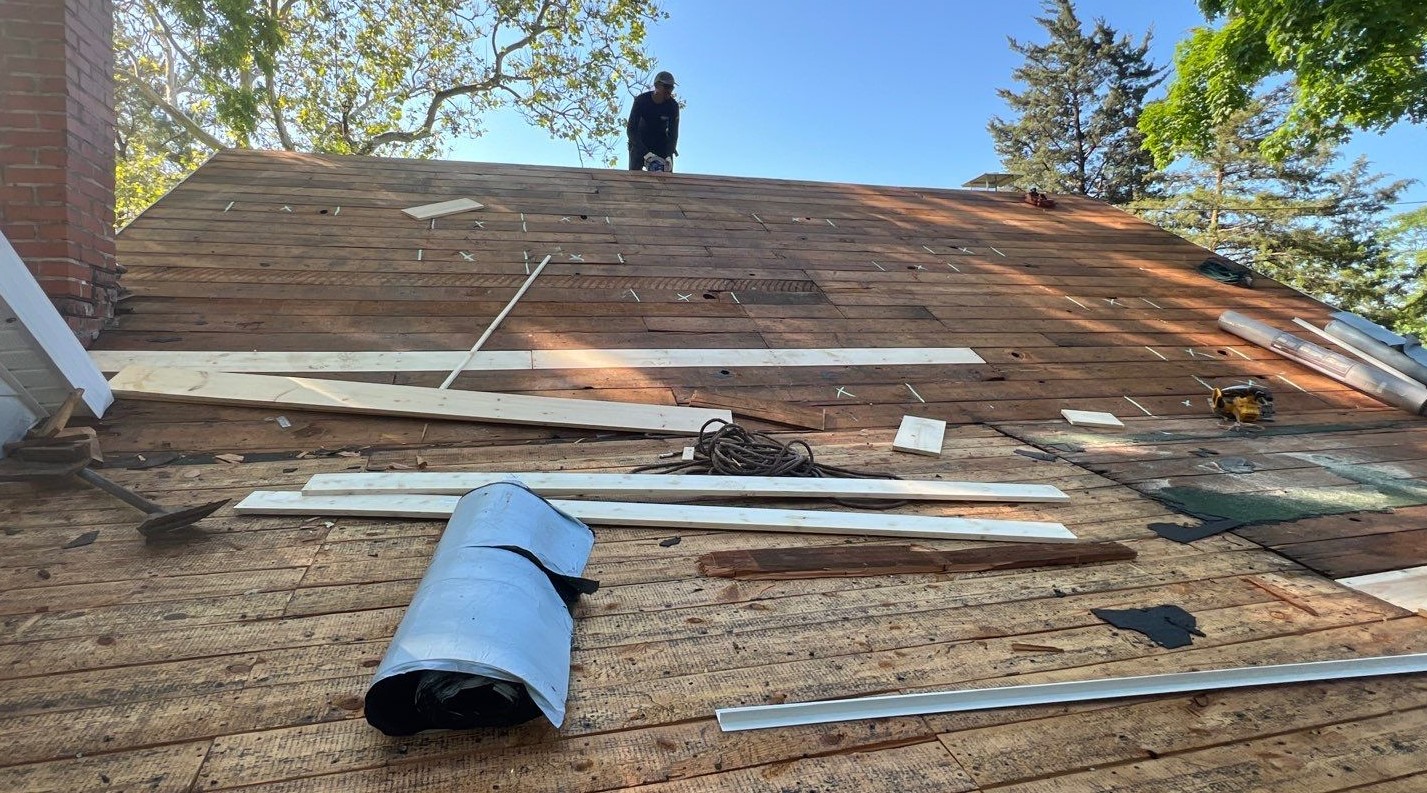
Removing Damaged Materials
When assessing and repairing roof damage, removing damaged materials is a crucial step. Here’s how to do it effectively:
- Visually examine the roof to determine the extent of the damage and the materials that need to be removed.
- Prevent additional water damage by using tarps or other water barriers while removing damaged materials.
- Storm – damaged materials should be removed carefully to avoid causing further harm to the structure.
- Inspect the roof, identify the leak, remove the damaged material, measure the damaged area, cut the material needed, and then install the replacement material to fix the leak.
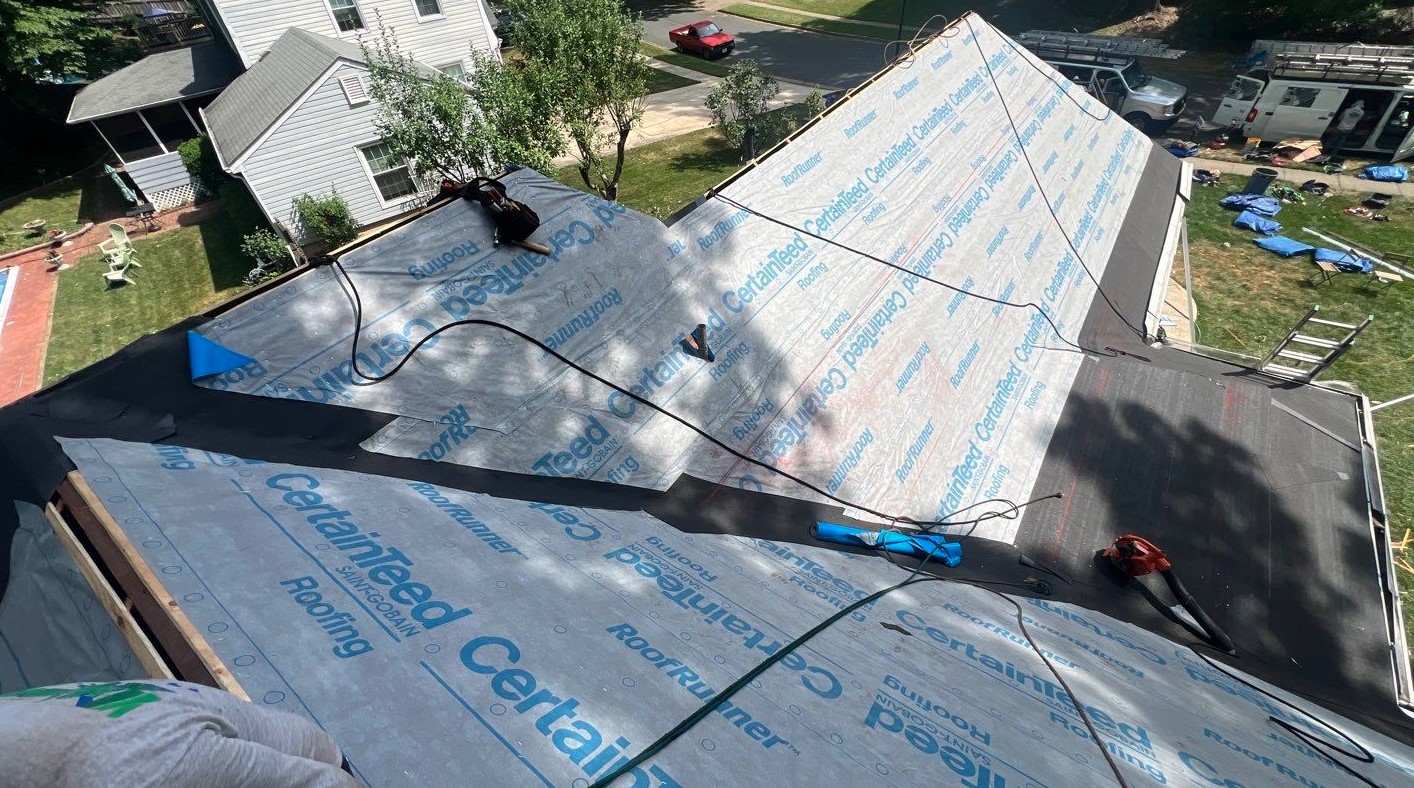
Replacement and Sealing
When addressing roof damage, replacement and sealing are crucial steps to ensure the structural integrity of the roof. Here are essential guidelines for executing replacement and sealing:
- Inspect the damaged area thoroughly to determine the extent of the damage and identify any underlying issues.
- Clear the work area of debris and obstacles to facilitate a smooth replacement process.
- Remove damaged materials such as shingles, flashing, or underlayment carefully to prepare for replacements.
- Replace damaged components using high – quality materials that ensure durability and longevity.
- Seal all replaced components meticulously to prevent future water intrusion and maintain the roof’s integrity.
Planning for a Commercial Roof Replacement: What to Expect
Planning for a commercial roof replacement involves an initial consultation and assessment by a professional roofing contractor. The process begins with evaluating the current condition of the roof to determine the extent of the replacement needed.
This step is crucial in understanding what needs to be done and ensuring that all necessary preparations are made before commencing work on the new roof.
Next, preparing the existing structure is vital. This often includes removing and disposing of the old roofing materials to make way for the new installation. Thoroughly planning for these initial steps ensures a smooth transition from assessing the old roof to installing a new one, ultimately leading to effective and efficient results.
Moreover, seeking out expert advice from reputable roofing professionals helps in making informed decisions about material choices, energy-efficient options, as well as understanding best practices for commercial roof replacements.
Engaging with knowledgeable contractors can shed light on various solutions available and facilitate better decision-making throughout every stage of this critical process.
Maintaining Your Roof’s Health
Dealing with Moss and Lichen Growth and Ensuring Proper Sealing Around Vents and Pipes are crucial to protecting your roof’s longevity. Click here to learn more about how to keep your roof in top condition.
Dealing with Moss and Lichen Growth
Moss and lichen growth on your roof can lead to water damage and shingle deterioration. It is crucial to address this issue promptly. Here’s how to deal with moss and lichen growth:
- Regularly inspect your roof for any signs of moss or lichen growth, especially in areas with limited sunlight and excess moisture.
- Avoid pressure washing as it can cause damage. Instead, use a gentle scrubbing method with a mixture of water and mild detergent to remove the growth.
- Consider installing zinc or copper strips near the ridge of your roof, as they release metal particles that inhibit moss and lichen growth over time.
- Trim overhanging branches to reduce shade on the roof, allowing more sunlight to reach the surface and inhibit moss and lichen growth.
- Ensure proper ventilation in the attic to minimize excess moisture, which can contribute to moss and lichen growth on the roof.
- Apply a commercially available moss killer or inhibitor as directed by the manufacturer to prevent regrowth after removal.
Ensuring Proper Sealing Around Vents and Pipes
Proper sealing around vents and pipes is crucial for maintaining a healthy roof. Checking the flashing and sealant around these areas is essential to prevent leaks and further damage. Here are the steps to ensure proper sealing around vents and pipes:
- Inspect flashing and seals around roof penetrations such as vents, chimneys, and skylights during routine roof inspections.
- Address any signs of wear or damage in the flashing or sealant promptly to prevent water intrusion.
- Consider using high-quality sealants specifically designed for roofing applications to ensure durability and long-lasting protection.
- Properly maintain flashings by resealing them as needed, particularly after severe weather events or when signs of wear become apparent.
- Work with professional roofing contractors who have expertise in identifying and repairing issues related to vent and pipe penetrations.
- Stay proactive in addressing any concerns related to vent and pipe sealing to avoid potential costly repairs down the road.
Conclusion
Assessing and repairing roof damage requires a thorough inspection to identify issues. Addressing both interior and exterior aspects is crucial for a comprehensive assessment. Taking proactive measures can prevent further damage and ensure the longevity of your roof.
Regular maintenance will help avoid costly repairs in the future, saving you time and money in the long run.
FAQs
1. How can I tell if my roof has been damaged after a thunderstorm?
After a thunderstorm, look for signs like missing or replacement shingles, a sagging roof, or damage to gutter guards that might indicate your roof needs repair.
2. What are the benefits of repairing my damaged roof quickly?
Fixing your roof swiftly can prevent further damage to your home’s structure and interior and improve energy efficiency by keeping your attic and crawl space insulated.
3. Should I contact my insurance company about roof damage?
Yes, you should report any roofing damage to your insurance company as they may cover some or all of the repairs depending on your policy and the cause of the damage.
4. Are there ways to protect my roof from future storm damage?
Installing durable materials such as replacement shingles designed for severe weather and adding protective elements like gutter guards can help shield against future thunderstorms.
Contact Us

After starting his first business at age 26, Artie Hendricks partnered with his best friend Rob Calhan and they have assembled a team of skilled and conscientious friends to be the core of Landmark Roofing. He largely credits his father’s strong and consistent work ethic and his father’s best friend Jerry, who owns a construction company and trained him through his first building experiences. Artie has since advanced through degrees in architecture, auto-CAD and construction management to build a business that prides itself on the care it shows for its work and its customers’ satisfaction.