Water spots on the ceiling are more than just an eyesore; they’re warning signs of potential damage in your home. Think of these stains as a map that leads to hidden issues like leaky roofs, malfunctioning HVAC systems, or high moisture levels – all common culprits behind these unsightly marks.
When you see a water spot, it’s not always obvious where it’s coming from. It might be due to condensation from poor insulation or even plumbing problems playing hide-and-seek behind walls and ceilings.
As homeowners and property managers, we can’t ignore these signals. Failing to address them may lead to more severe and costly repairs down the road. By regularly checking our homes, we can catch early signs of trouble and take steps like improving ventilation to prevent future stains.
Plus, fixing existing ones usually involves patching up leaks followed by priming with specialized paint that keeps new spots from reappearing.
In this discussion about dreaded ceiling water stains, we’ll uncover their roots and lay out clear strategies for tackling them head-on – ensuring your ceilings stay clean and spot-free.
Let’s get ready for some home detective work!
Key Takeaways
- Water spots on your ceiling often indicate leaking problems, like roof issues or faulty plumbing, and require immediate attention to prevent serious damage.
- Routine inspections of the property’s interior and exterior can help you spot early signs of potential water leaks that could lead to ceiling stains.
- Using moisture control methods such as exhaust fans and dehumidifiers in high – humidity areas will greatly reduce the risk of water stains forming on ceilings.
- Painting over existing water stains with a stain – blocking primer is an effective way to cover up any marks and prevent them from reappearing.
- It’s important for homeowners and property managers to differentiate between roof blistering caused by heat versus hail damage which results from severe weather, as both can lead to ceiling water spots if not properly managed.
Identifying Water Spots on Your Ceiling
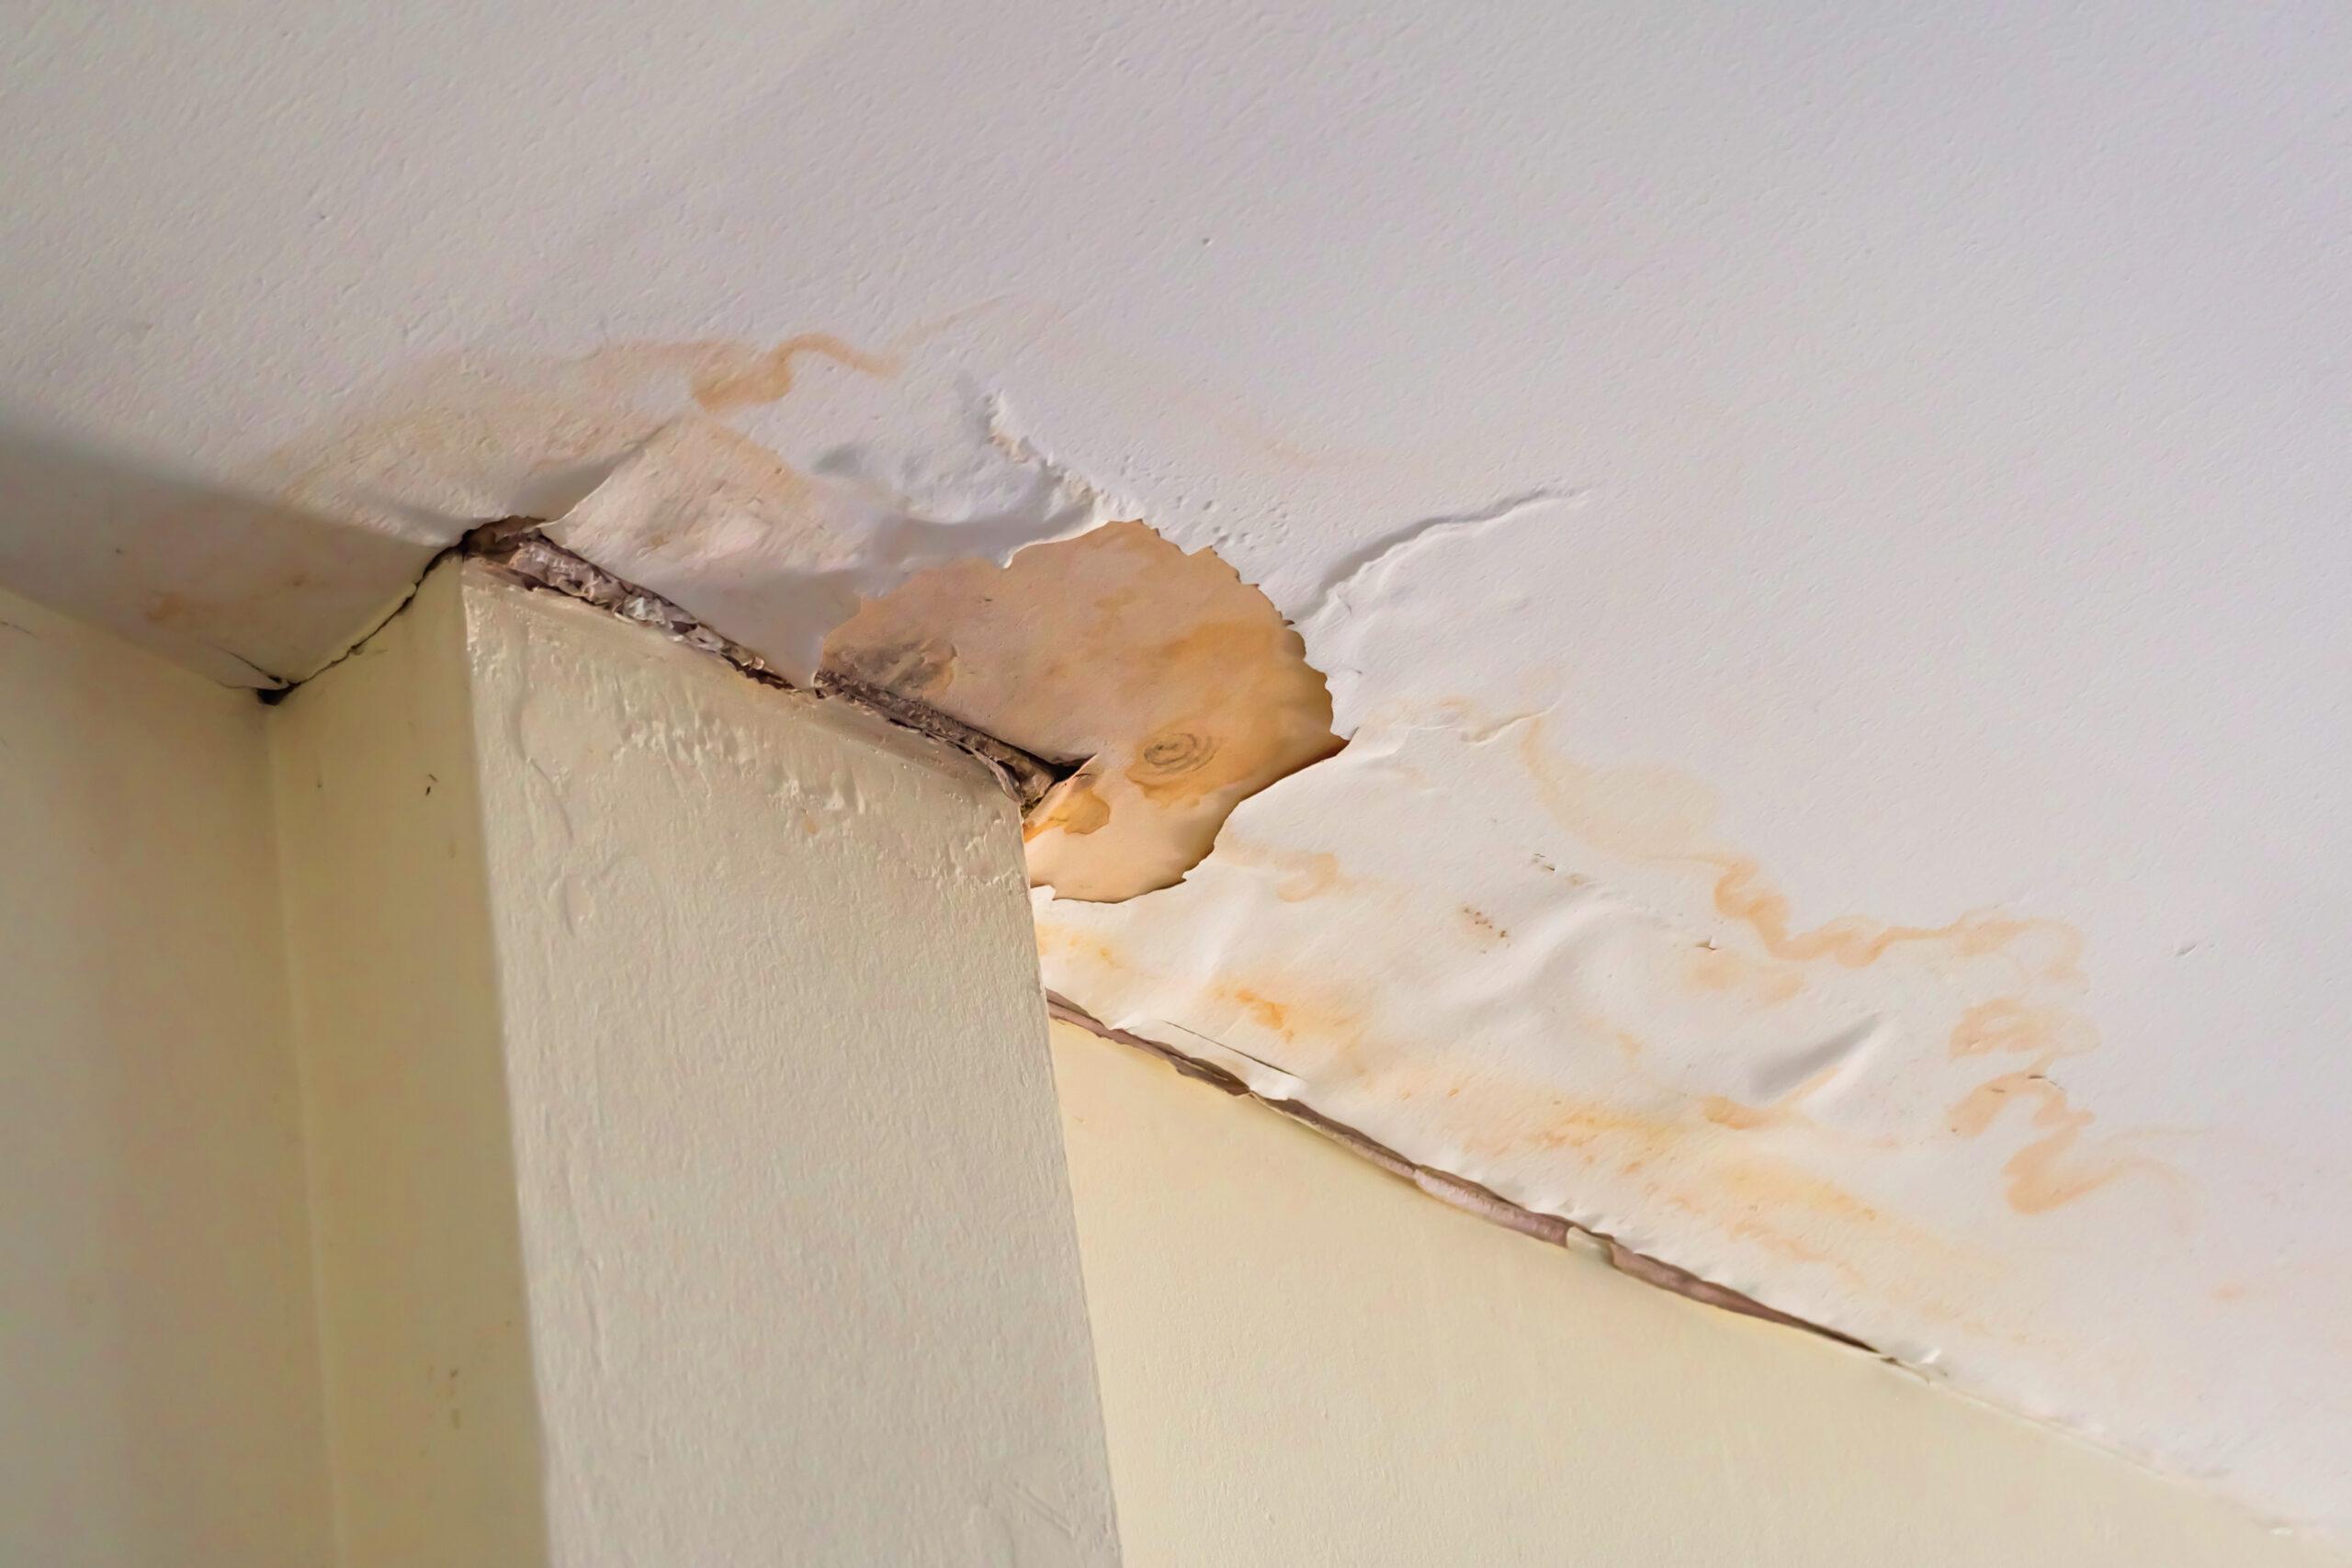
We often spot telltale signs of water damage as discolored patches on our ceiling. These spots may vary in color from yellow to brown, and they can appear anywhere above us – over the living room, in corners near the bathroom, or directly under an attic space.
To identify these trouble spots correctly, we take note of their shape and size. Circular patterns usually suggest drips from a leaky roof or faulty plumbing fixtures, while larger blotches could mean a more serious problem with our roofing material or insulation.
As vigilant homeowners and property managers, we’re always on the lookout for any changes that might indicate moisture problems. We check around chimney bases where flashing can fail and allow water inside walls; inspect air vents for blockages that prevent proper airflow; examine ductwork in our HVAC systems to ensure there are no leaks contributing to unwanted dampness.
It’s essential not just to look up but also to feel the walls near stains for dampness since seepage can travel along pipes and other hidden channels before emerging as water spots on our ceilings.
Common Causes of Water Spots on Ceiling
Water stains on your ceiling can be caused by a variety of issues, including leaking roofs, malfunctioning HVAC units, leaking pipes, improper ventilation, and high moisture and humidity levels.
Each of these potential causes requires specific attention to remedy the problem effectively.
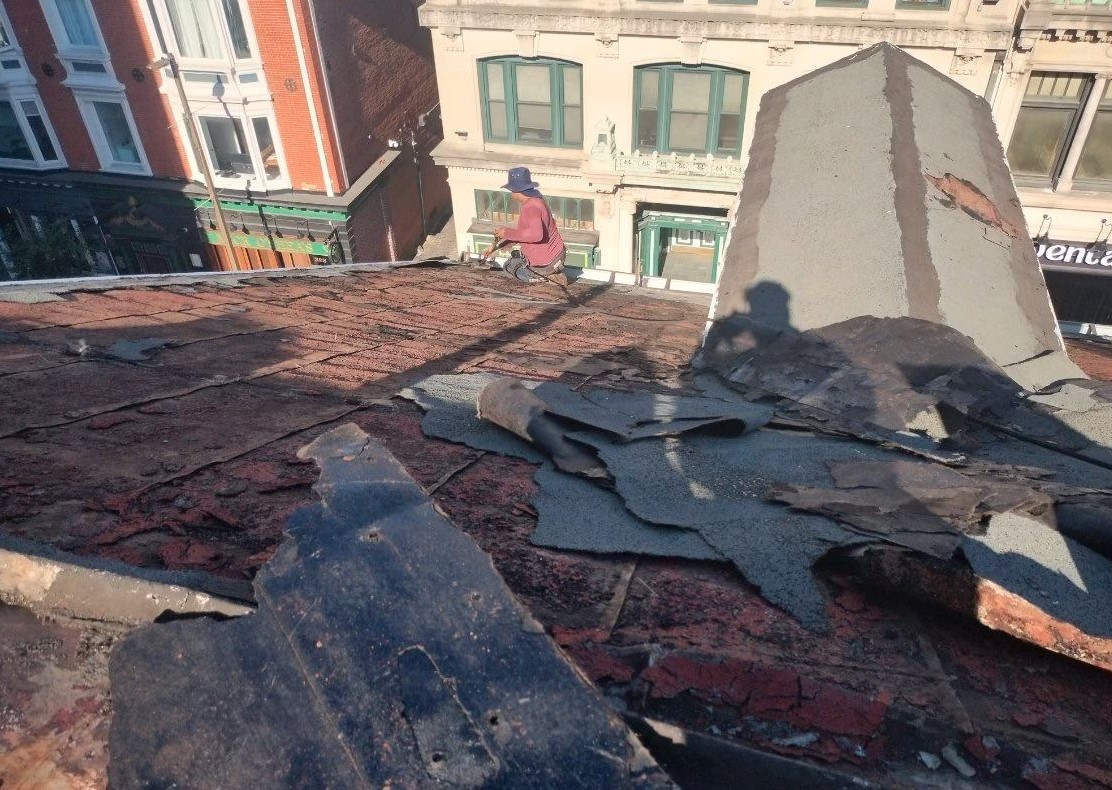
Leaking Roof
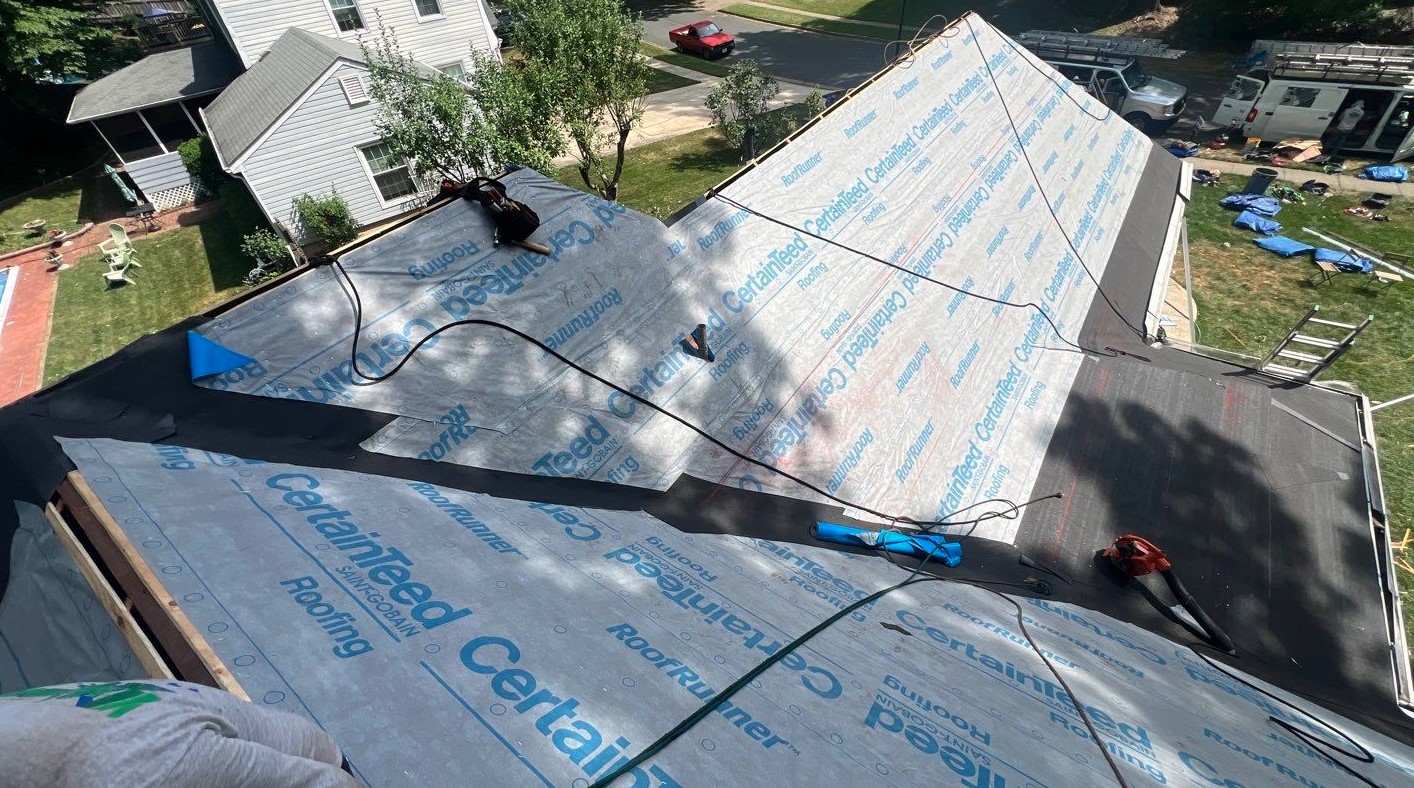
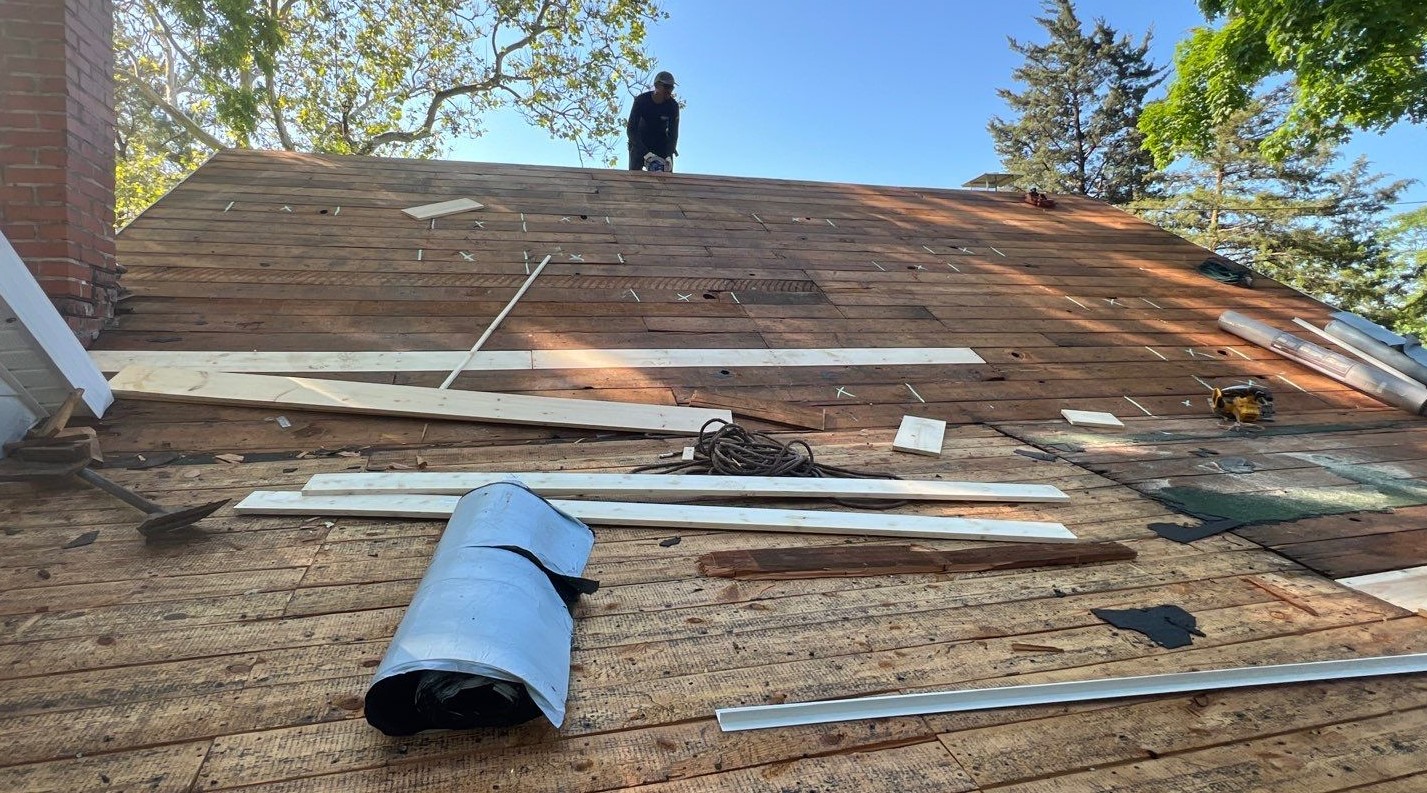
We’ve seen it time and again, the dreaded water stain on the ceiling that usually points to one thing: a leaking roof. It’s a common issue that can cause significant damage if left unchecked.
A roof leak can be tricky; often, it goes unnoticed until those ugly stains or worse, mold starts appearing in your living spaces. It’s essential to handle this problem quickly to avoid further harm to your home.
Identifying where the leak is coming from can sometimes be as straightforward as heading up into the attic and looking for dampness around rafters or checking for outside light piercing through gaps.
However, some leaks might require a professional eye. Contacting a roofing contractor should be at the top of your list because they have specialized tools like thermal imaging devices that make pinpointing leaks less of a guessing game.
Once we’ve found where water is seeping through, we must take immediate action. This situation calls for more than just slapping on some ceiling paint and calling it good. You’ll need proper sealants, often used alongside stain-blocking primer which prevents future water stains from surfacing again after you’ve patched everything up.
Keep in mind, prevention is key—regular inspections could save you a ton of trouble down the road by catching issues early on before any serious leakage begins.
Malfunctioning HVAC Units
Malfunctioning HVAC units can wreak havoc on your ceilings with unsightly water stains, leaving you puzzled and concerned. These units might drip water as they struggle with under-insulation or air leaks that cause condensation on the ducts.
Acknowledging this issue early is crucial to prevent extensive damage and maintain indoor air quality.
Let’s tackle these problems head-on by inspecting your vents for signs of moisture buildup. If you spot wet spots around your AC vents, it may indicate insulation issues or even leaks within the system itself.
It’s time to take control—consult a professional who can assess the situation accurately using tools like thermographs to pinpoint where repairs are needed. With the right expertise, those malfunctioning HVAC units will no longer threaten the integrity of your property’s ceilings.
Leaking Pipes
Plumbing pipe leaks are a common culprit behind those frustrating water stains on your ceiling. When pipes develop deposits or corrosion, they become prone to dripping and can cause unsightly marks above.
Regular maintenance and inspections of plumbing systems are crucial in identifying and addressing potential leaks before they escalate into larger issues. Keep an eye out for any signs of moisture around the pipes, drips, or discoloration on the ceiling that could indicate a leaking pipe.
Mitigating these problems early not only prevents water damage but also helps maintain the integrity of your property.
Incorporating regular checks for leaks as part of your property management routine is critical to safeguard against costly repairs from extensive water damage caused by neglected piping issues.
Improper Ventilation
Addressing leaks from pipes is vital. However, it’s equally crucial to consider the impact of improper ventilation on ceiling water stains. The buildup of moisture due to inadequate airflow can result in unsightly and damaging marks on your ceilings.
Moisture-causing activities such as cooking, showering, and drying laundry without adequate ventilation contribute significantly to this issue.
Furthermore, poorly ventilated attics can lead to condensation problems during temperature fluctuations. This condensation then seeps into the ceiling materials, leaving noticeable water spots behind.
High Moisture and Humidity Levels
High moisture and humidity levels contribute significantly to the formation of water spots on ceilings. These conditions can lead to condensation issues, which in turn result in stains on the ceiling.
It’s essential to address these high moisture and humidity levels promptly to prevent further damage and maintain a healthy indoor environment.
Inadequate ventilation is a common cause of high moisture and humidity levels, especially in residential homes with poor air circulation. Furthermore, improper insulation or connections can exacerbate condensation issues, ultimately leading to water stains on the ceiling.
Proactive Measures to Prevent Water Spots on Ceiling
To prevent water stains on your ceiling, consider implementing proactive measures such as controlling moisture and improving ventilation in your home. Regular inspections of structures can also help identify and address potential issues before they escalate.
Moisture Control and Ventilation
To control moisture and prevent water stains on your ceiling, it’s essential to ensure proper ventilation in your property. High humidity levels can lead to condensation, which contributes to water stains.
Using exhaust fans and dehumidifiers can help reduce indoor humidity levels and eliminate excess moisture that causes water spots on ceilings. Additionally, regular use of these methods can also aid in preventing mold growth commonly associated with water stains.
Installing exhaust fans in areas prone to high humidity, such as bathrooms and kitchens, is an effective way to promote ventilation and decrease the likelihood of ceiling water stains occurring due to moisture buildup.
Furthermore, incorporating dehumidifiers in basements or other damp areas helps maintain optimal humidity levels indoors — safeguarding against both damage caused by excessive moisture and unsightly water spots on ceilings.
Regular Inspection of Structures
Regular inspection of structures is crucial for identifying potential sources of water leaks that can lead to unsightly ceiling stains. Vigilant and routine inspection of both the interior and exterior of a property allows us to proactively address any issues before they escalate, ensuring the structural integrity and aesthetic appeal of the building are maintained.
By regularly inspecting for signs of water damage on ceilings, walls, and around windows and doors, we can detect early indicators such as discoloration or peeling paint. Furthermore, carefully examining the roof for missing shingles or areas prone to ice dams during freeze-thaw cycles helps identify vulnerabilities before they result in water infiltration.
This preventive approach not only minimizes repair costs but also promotes a safe, healthy indoor environment by mitigating mold growth due to water damage.
Effective Remedies for Ceiling Water Stains
Identifying and fixing ceiling cracks as well as painting over with stain-blocking primer are effective solutions for addressing water stains on your ceiling. These remedies can help prevent further damage and improve the overall appearance of your space.
Identifying and Fixing Ceiling Cracks
We will provide you with a detailed list of steps to identify and fix ceiling cracks, which can help residential homeowners and commercial property managers address this common issue effectively.
- Inspect the area around the crack for any signs of water damage, such as discoloration or soft spots in the ceiling material.
- Check for any structural issues in the building that may have caused the cracks, such as settling or temperature changes over time.
- Use a flashlight to examine the crack closely, looking for any widening or lengthening of the fissure.
- Address hairline cracks promptly by cleaning them thoroughly and applying a flexible caulk to seal the gap.
- For larger cracks, consider using a joint compound or patching plaster to fill in and smooth over the damaged area.
- Once the crack is repaired, apply a coat of primer and repaint the affected area to blend it seamlessly with the surrounding ceiling.
- Monitor the repaired crack periodically to ensure that it remains sealed and does not reappear.
Paint Over with Stain-blocking Primer
To effectively tackle ceiling water stains, the best approach is to paint over them with a stain-blocking primer. This crucial step seals the surface and prevents the stains from reappearing. Here’s a detailed guide to successfully applying this remedy:
- Selecting the Right Primer: Choose a high-quality oil-based stain-blocking primer that specifically addresses water stains on ceilings. Look for products designed to effectively block tough stains and odors.
- Surface Preparation: Before applying the primer, ensure that the affected area is clean and dry. Remove any loose paint or debris, and clean the surface thoroughly with a mild detergent solution to eliminate any mold or mildew.
- Application Technique: Apply the primer evenly over the stained area using a brush or roller. Ensure thorough coverage to completely seal the underlying water damage.
- Additional Coats if Necessary: Depending on the severity of the water stains, you may need to apply multiple coats of primer to achieve complete coverage and prevent any potential bleeding through.
- Drying Time: Allow each coat of primer to dry completely according to the manufacturer’s instructions before applying additional coats or proceeding with painting over it.
- Final Coat: Once the stained area is fully primed and dried, you can paint over it with your desired color or finish to restore the ceiling’s appearance seamlessly.
Understanding Roof Issues: Blistering vs. Hail Damage
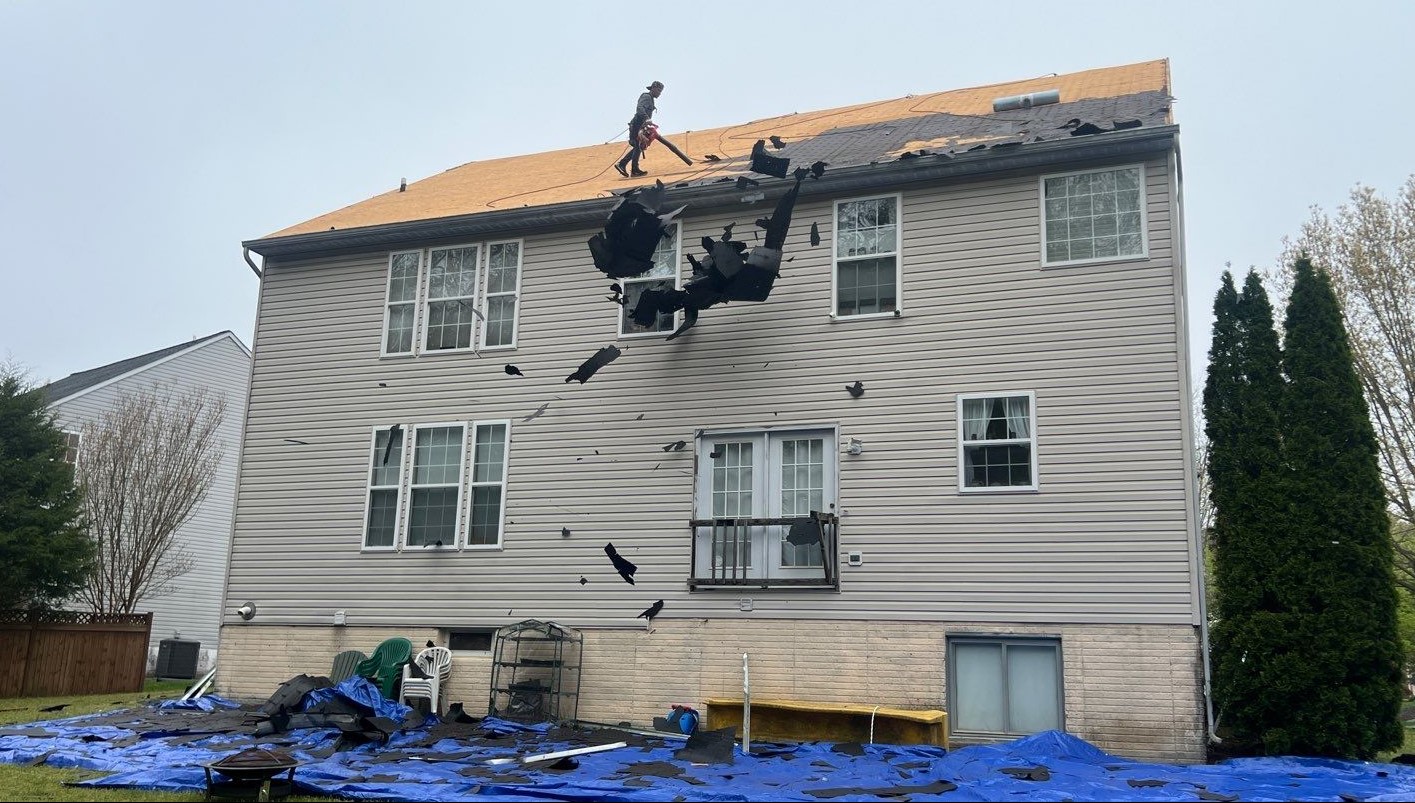
Blistering on a roof occurs when bubbles or blisters form in the shingle surface, often due to excessive heat causing the asphalt to expand. These blisters can lead to premature aging and cracking of the shingles, making them more susceptible to damage from hail.
Hail damage, on the other hand, results from impact marks on shingles caused by hailstones during severe weather conditions. It can cause granule loss, punctures, or cracks in the roofing material.
Property owners should regularly inspect their roofs for signs of blistering and hail damage as both can compromise the integrity of the roof and lead to water leaks. Timely repair or replacement of damaged shingles is crucial in preventing further issues such as water spots on ceilings and potential structural damage.
Understanding these distinctions empowers homeowners and property managers to take proactive measures against these common roof issues before they escalate into costly repairs.
Conclusion
To sum up, water spots on the ceiling can be a bothersome issue for homeowners and property managers. Identifying the root cause of these stains is crucial to prevent further damage.
By addressing common causes such as leaking roofs or malfunctioning HVAC units, and implementing proactive measures like regular inspections and proper ventilation maintenance, you can effectively tackle this problem.
With the right knowledge and action, you can maintain a pristine ceiling and ensure a healthy indoor environment for your home or commercial property.
To further understand the intricacies of roof issues, specifically blistering versus hail damage, be sure to read our detailed article on “Weather Woes: Roof Blistering vs. Hail Damage – How to Tell the Difference.”
FAQs
1. What causes water spots on my ceiling?
Water spots on your ceiling are often due to ice dam leakage, plumbing leaks, or improper dryer venting that lets moisture accumulate. Fixing these issues promptly can prevent further damage.
2. Can a clogged dryer vent lead to ceiling water spots?
Yes, if a clothes dryer isn’t properly vented outside through the right kind of dryer vent, excess moisture can escape into your crawlspace and cause water spots.
3. How do I know if the water spot is from a leak or condensation?
Examine where the spot is located; near exterior walls with snow build-up might suggest ice dam leakage while plumbing areas could indicate pipe leaks. A plumber can determine the exact cause by checking pressure in pipes and looking for liquid signs around sheathing in attics or crawlspaces.
4. What should I use to cover up a water stain after fixing the leak?
First, remove any mildew with appropriate removal products; then apply an oil-based primer as the primer coat to block stains before repainting for best results.
5. Is it safe to handle ceiling repairs myself when I find a water spot?
If you have experience with such repairs and feel confident using tools like a credit card for scraping off old paint and applying new materials, DIY fixes are possible but check text messages or your inbox for professional advice when in doubt.
Contact Us

After starting his first business at age 26, Artie Hendricks partnered with his best friend Rob Calhan and they have assembled a team of skilled and conscientious friends to be the core of Landmark Roofing. He largely credits his father’s strong and consistent work ethic and his father’s best friend Jerry, who owns a construction company and trained him through his first building experiences. Artie has since advanced through degrees in architecture, auto-CAD and construction management to build a business that prides itself on the care it shows for its work and its customers’ satisfaction.